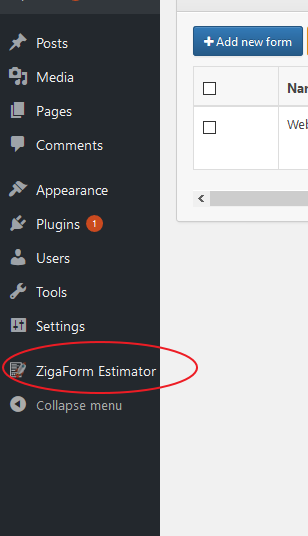
On sidebar, just go to Zigaform Estimator sidebar menu:
then all forms will appear on list. you can edit, delete, enable, disable or duplicate your form. In order to create a new form. just click on “add new form” button

- Create new form:

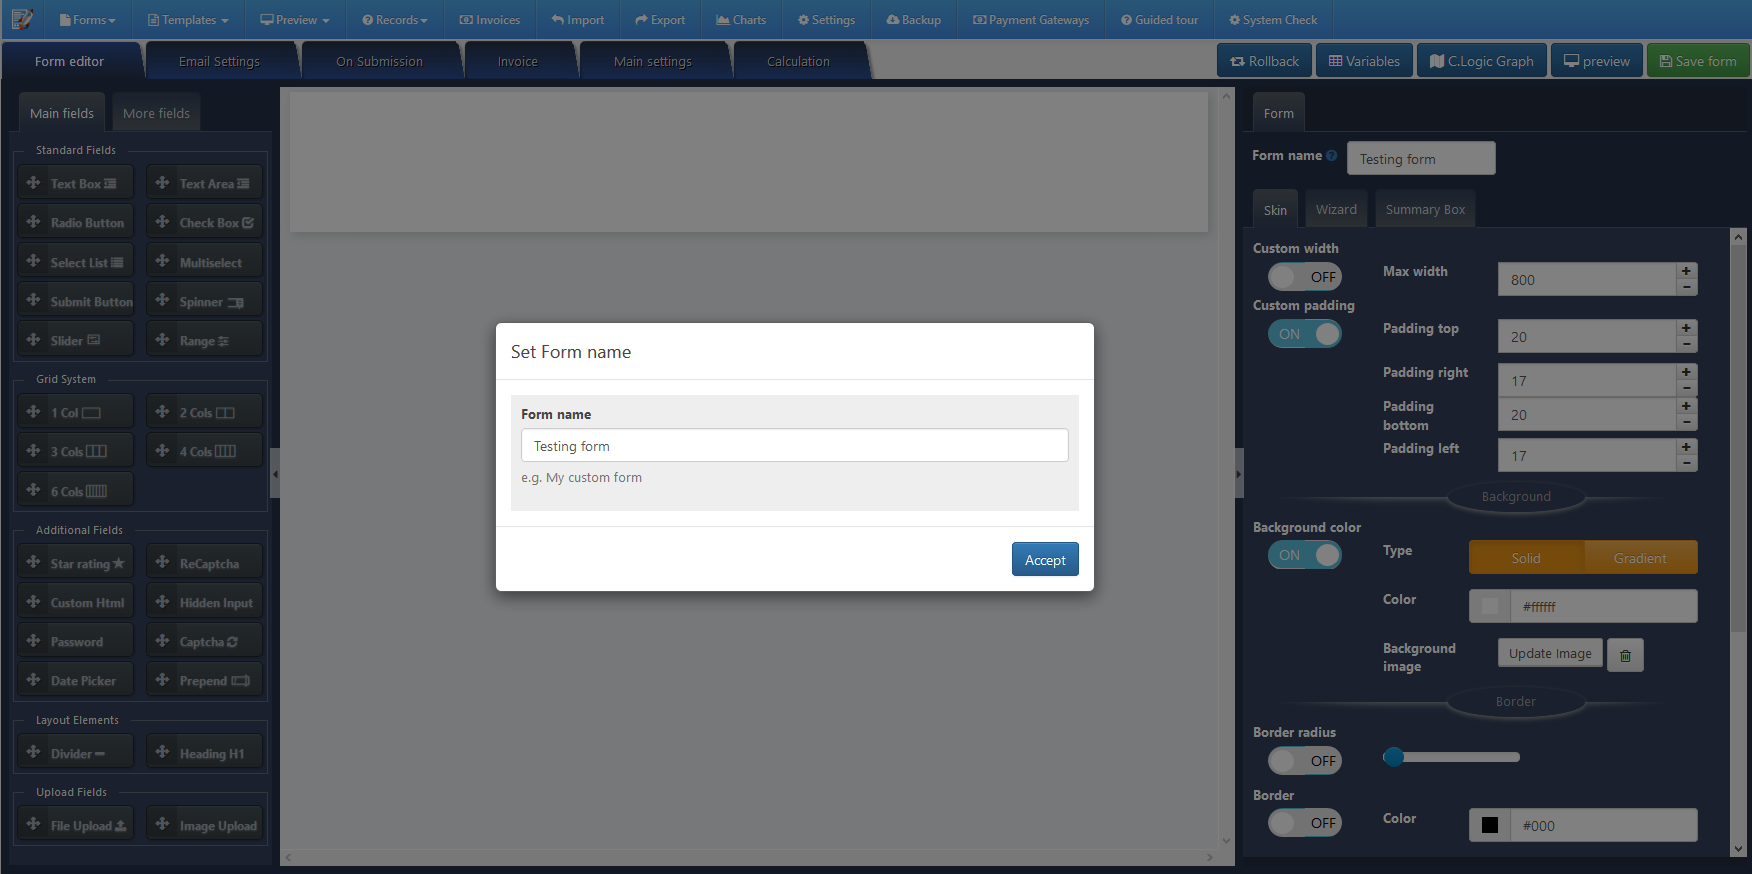
- then a popup will appear asking you to set a form name. just set a name to your form
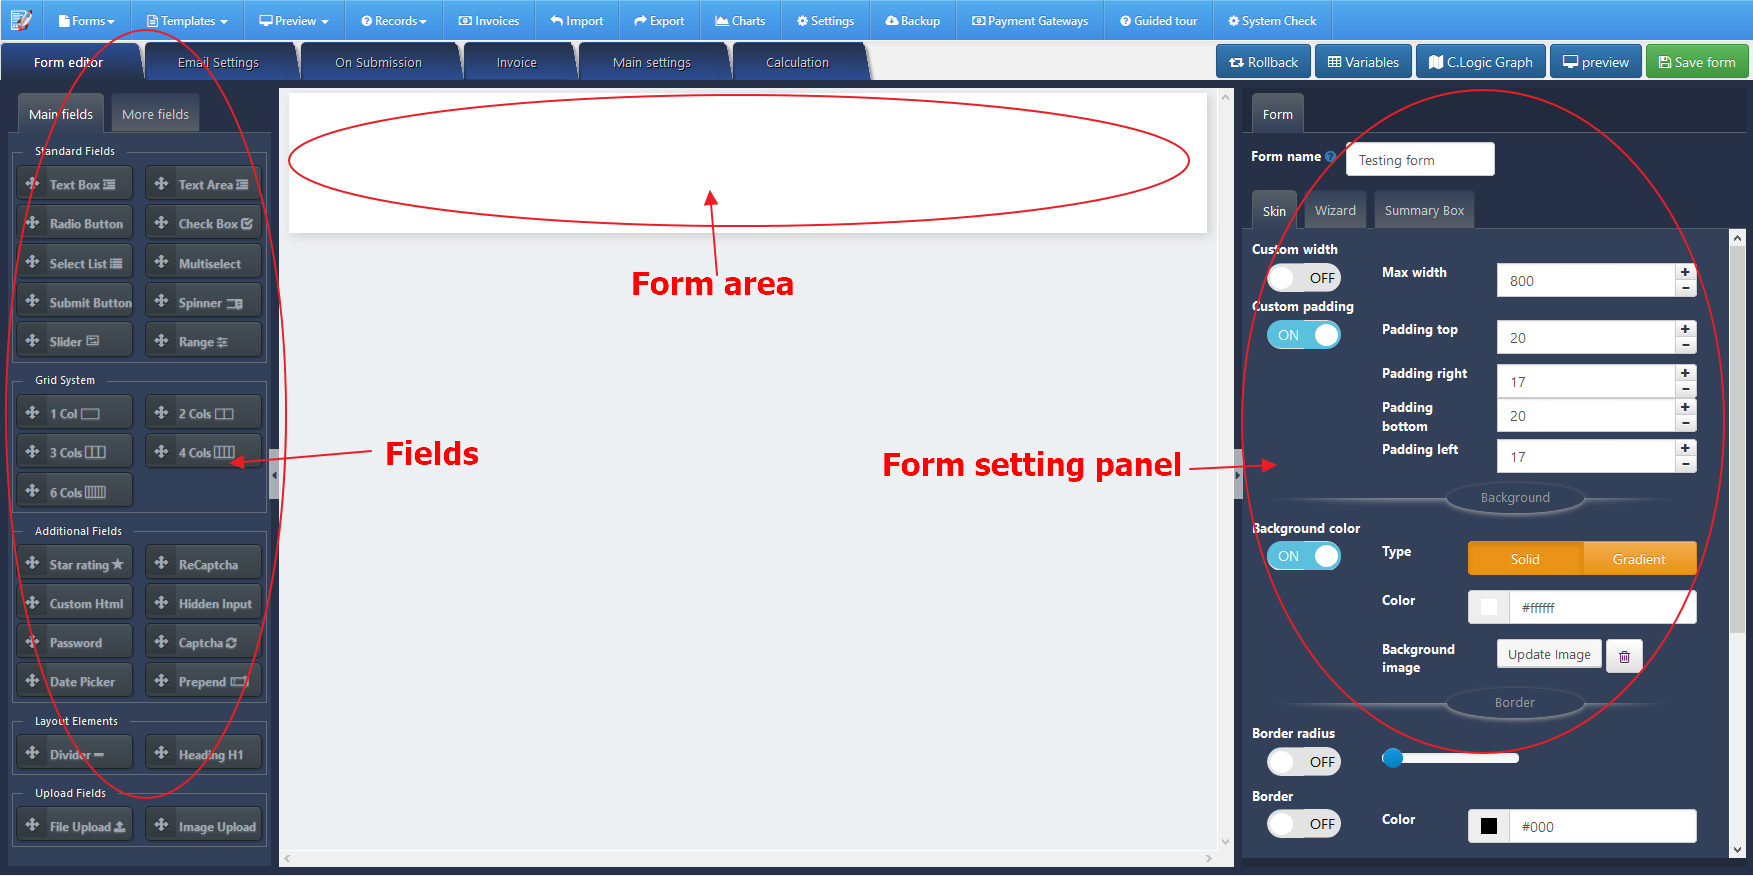
- then the editing panel will appear. you will find three zones.
1) on the left, you will fin the form elements. you can drag and drop or just click to add to the form.
2) On the right, you will the form setting panel. you can customize options to your form and form elements.
3) On the center, you will find the form preview and you will see how it will look like on frontend. - Just click in one form element to add to the form. then you will see on form preview panel
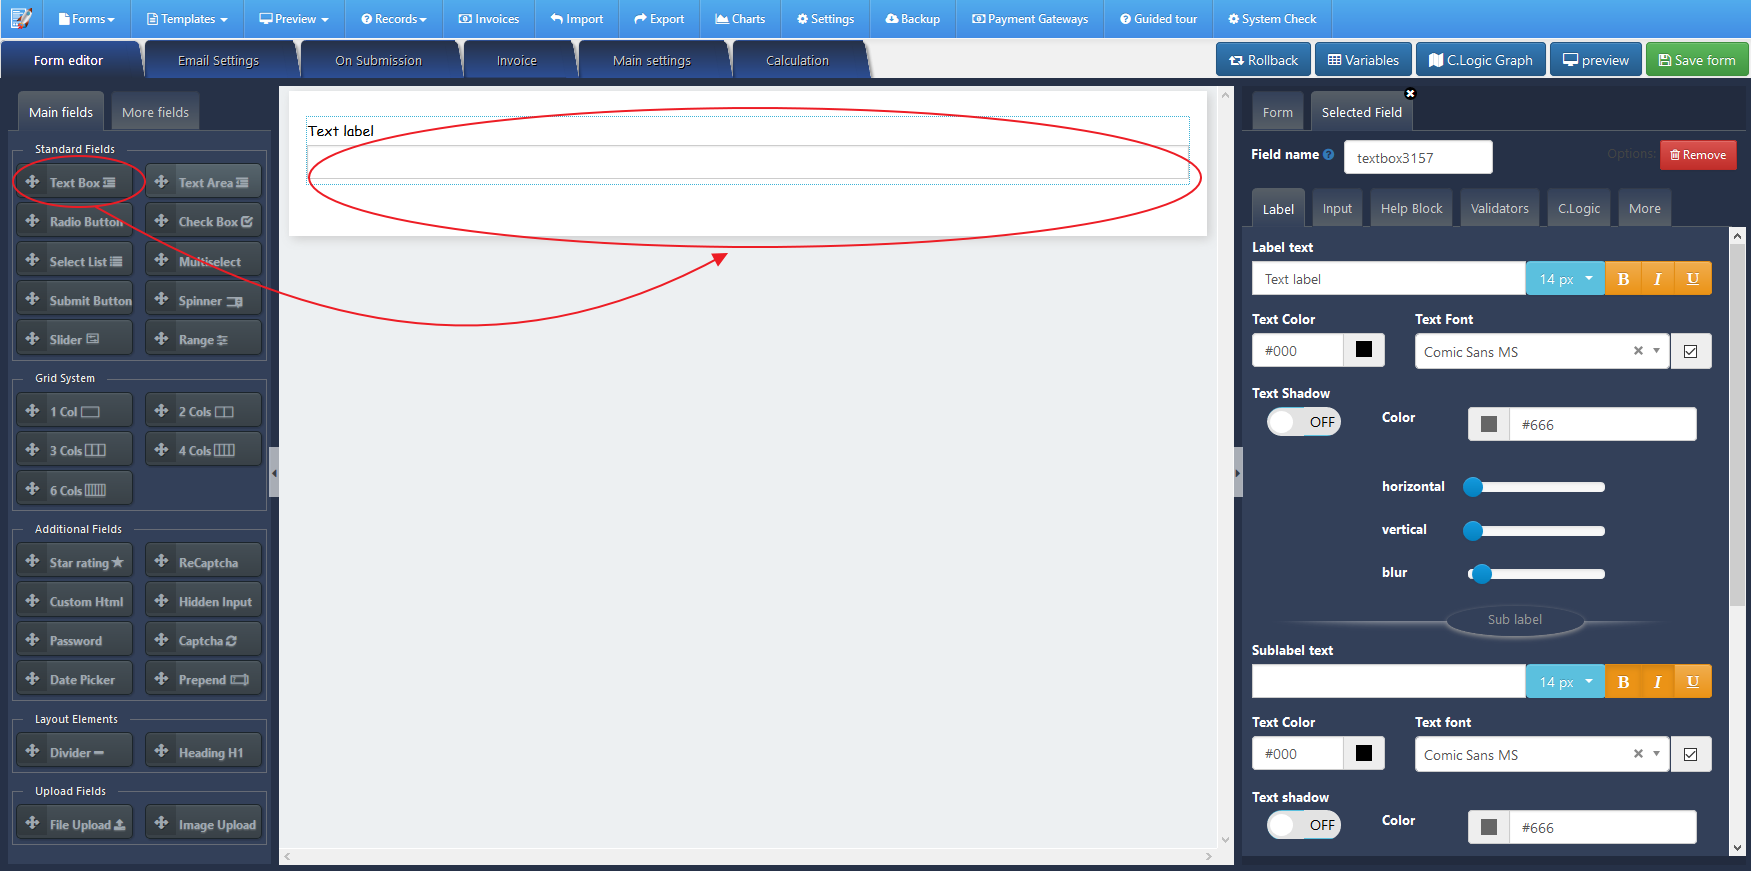
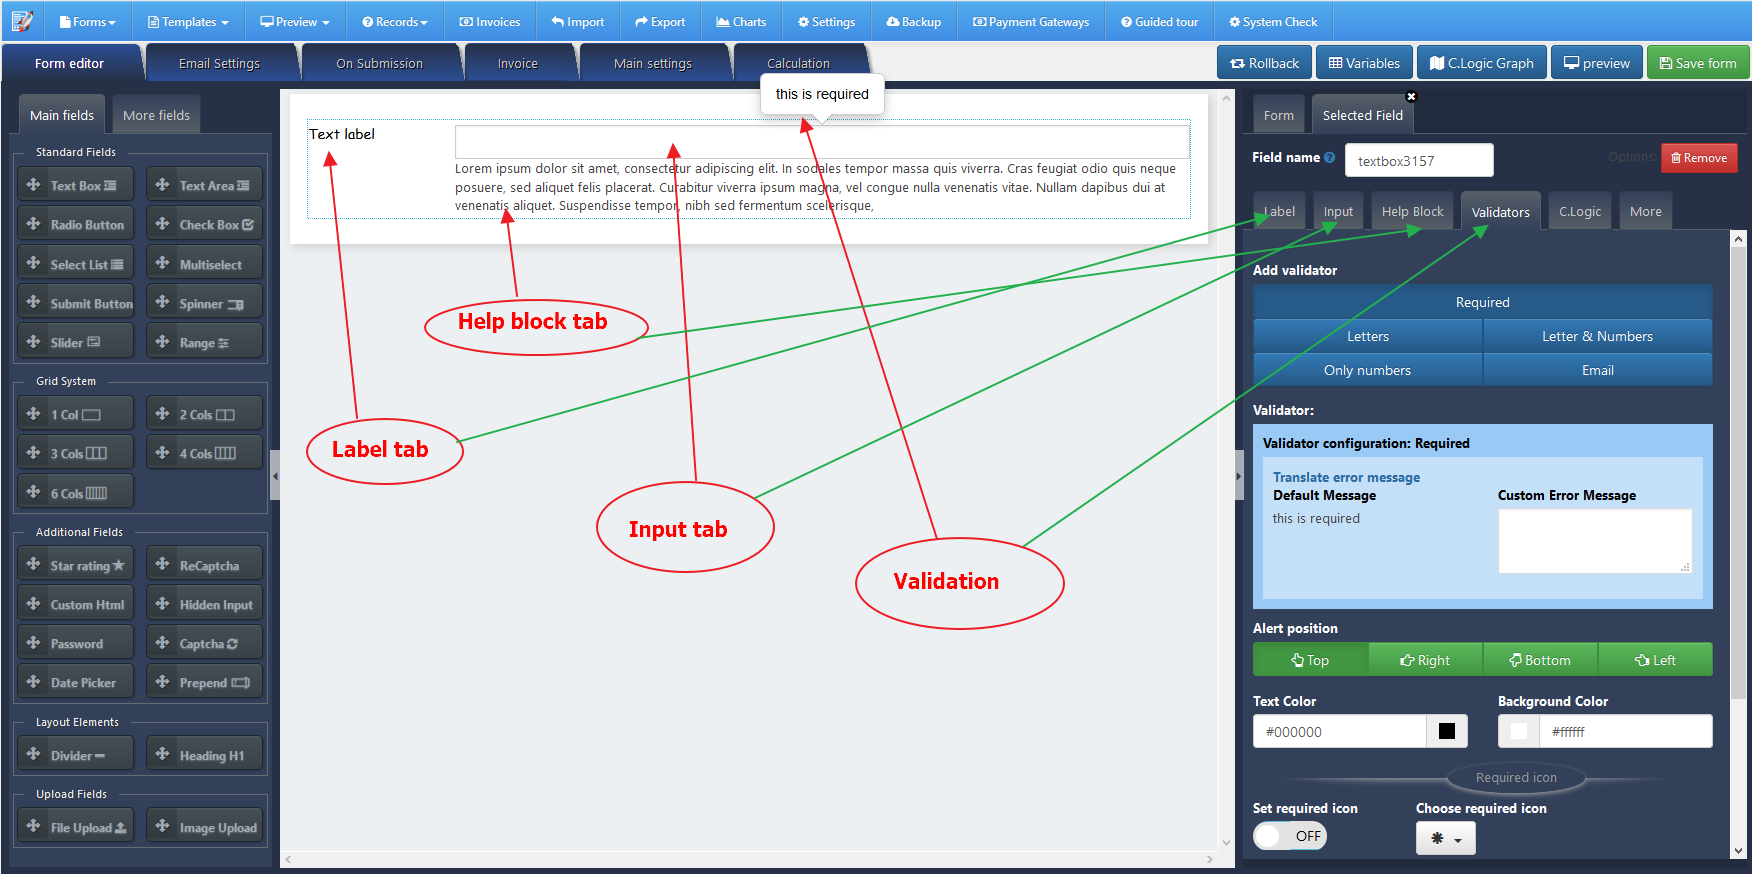
- Then on the right panel, you will see a tab is shown. this is the tab for customizing your selected field. just set all your options that fit to your needs. well, you will fine in most cases the next tabs:
- label tab: you can customize the label of form element which are always next to input.
- Input tab: you can customize your input
- Help block: you can customize the help block of form element.
- Validators tab: you can set validation option to your form elements.
- Conditional logic: you can add conditional logic to your form elements
- More: you can add margin or padding to your field
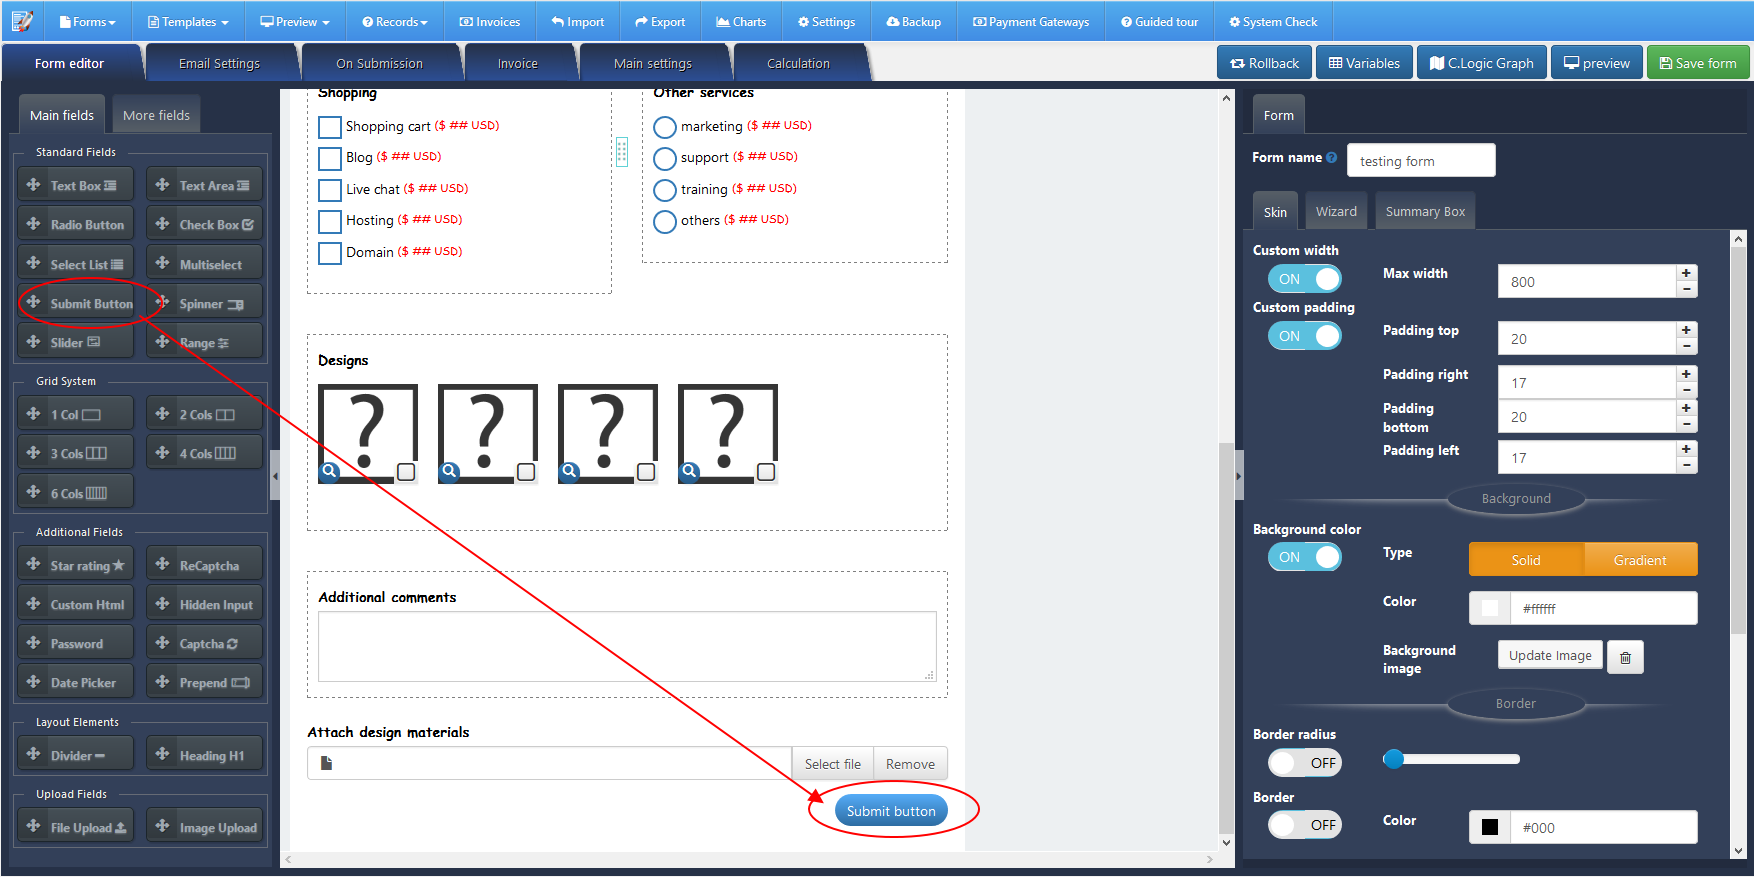
- then add all your form elements and DO NOT FORGET the “submit” button. this is important for sending the data of your form. Just drag and drop the submit button from left to right on the preview form. that’s all. check the next screenshot:
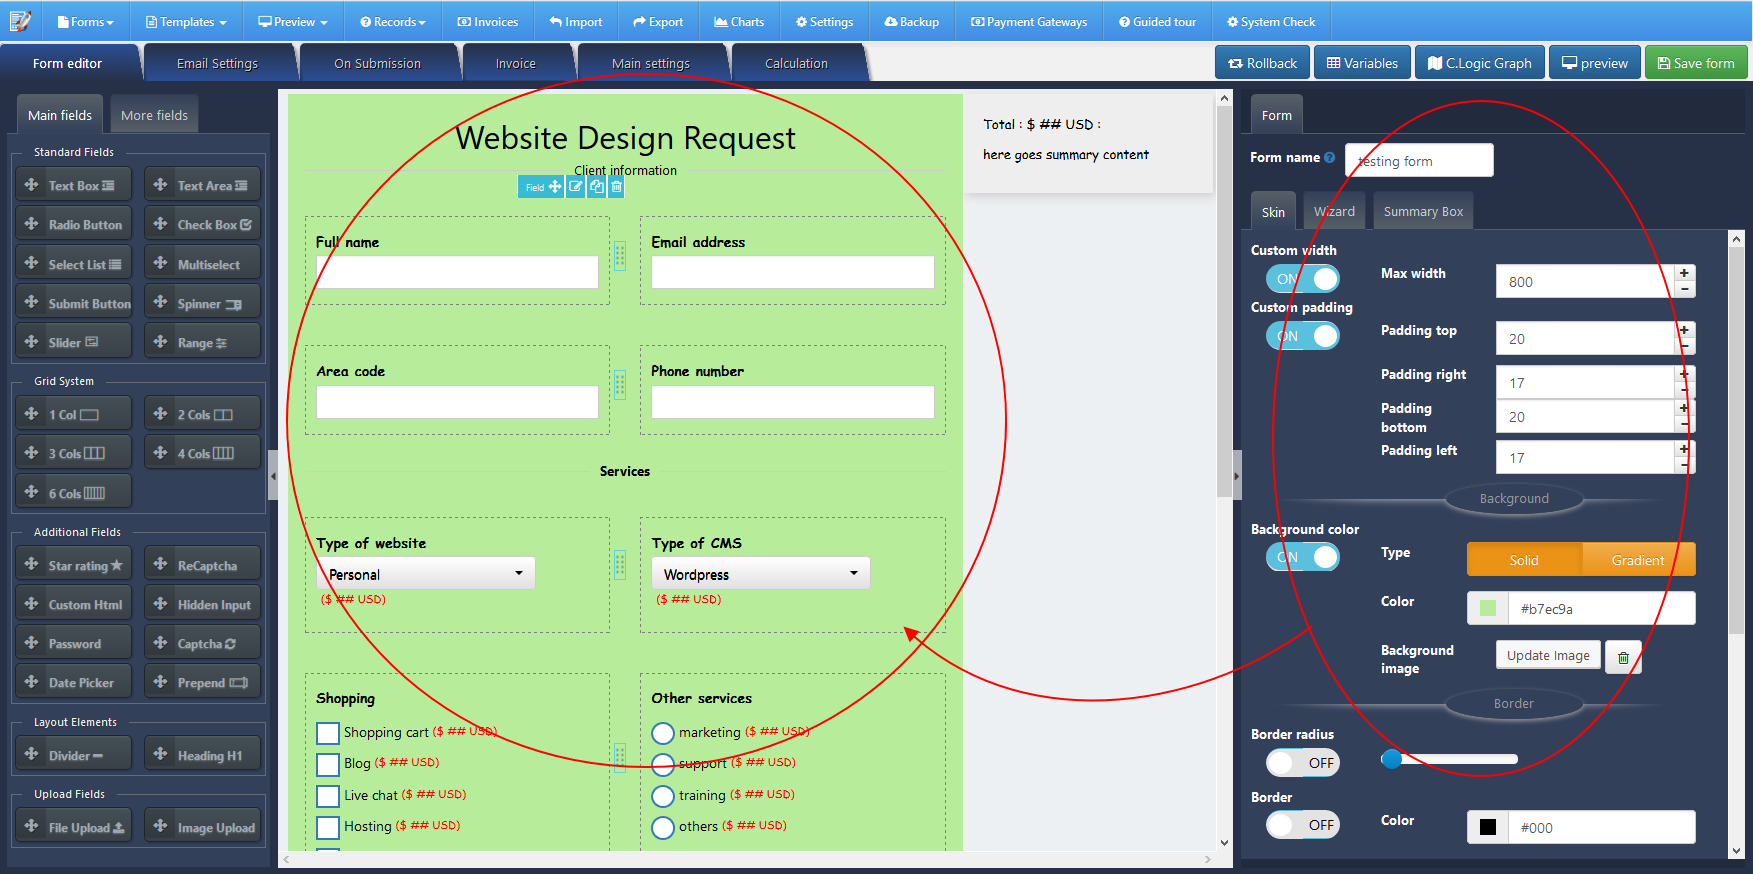
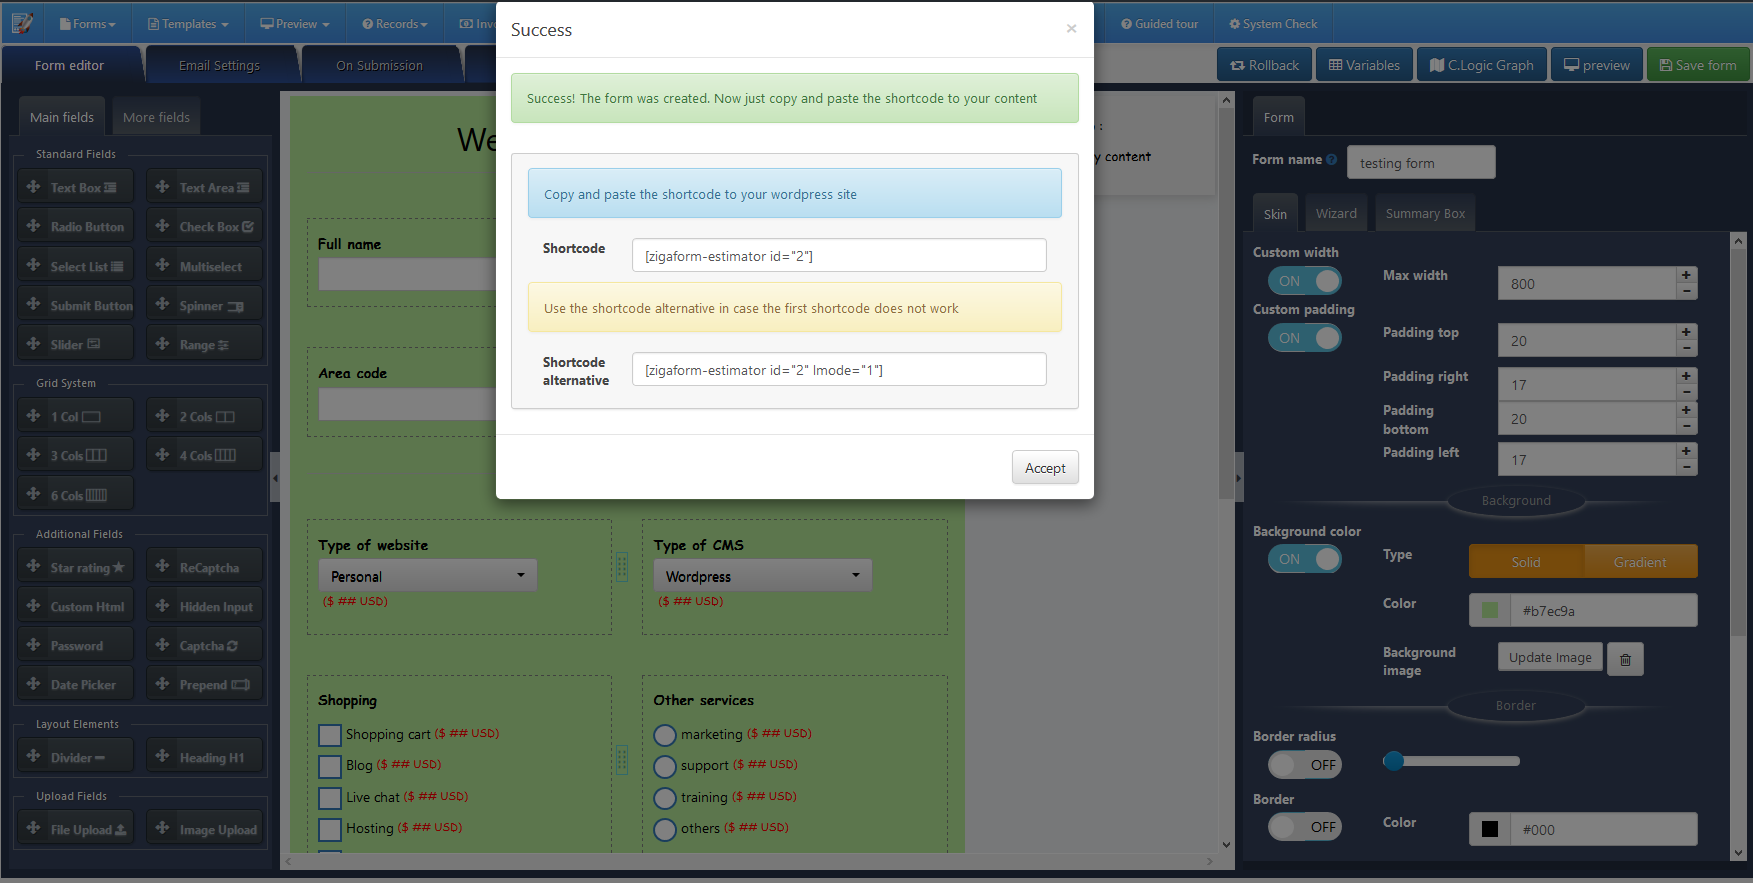
- then in order to customize the form skin, just to go the form tab on right, and set the options that fit your needs. you will find next tabs:
- Skin tab: you will find options to customize the look of the form. you can change the background color or add background image, set border, shadow, padding and so on.
- wizard tab: you will find the options to enable the wizard form and you can add more steps and customize how it will look like on frontend.
- Summary box tab: you will find the options to enable the summary box and you will find many options to customize the skin of the box
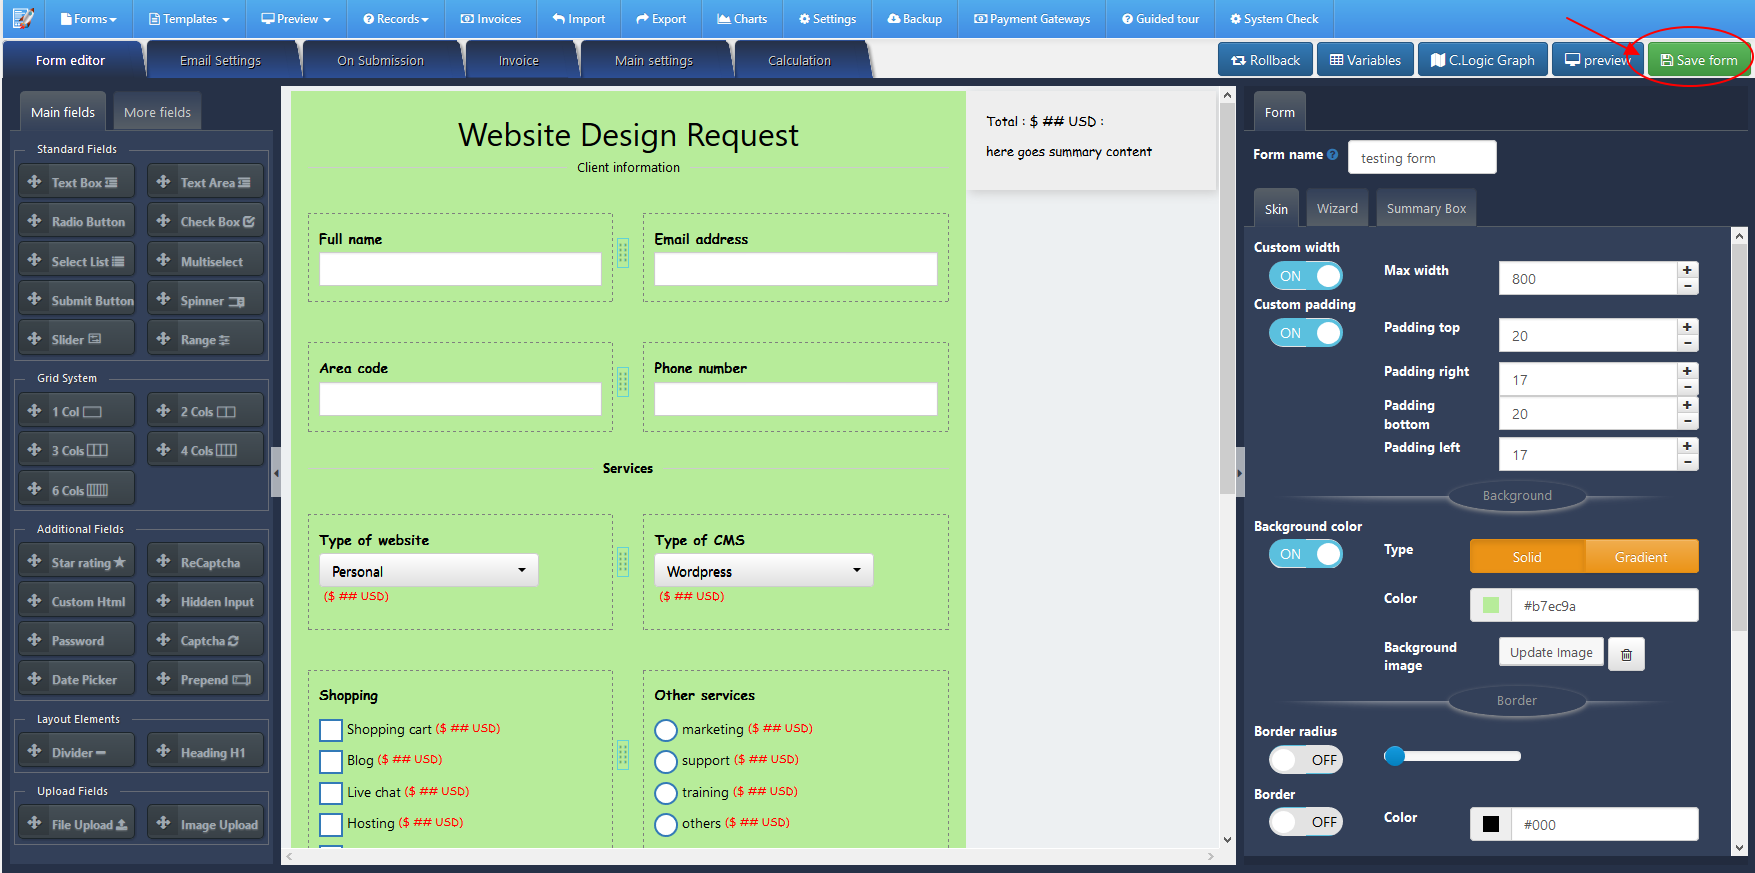
- Finally, just save your form pressing the “save form” button on the right.

Preview form
- when the form is created for first time, a popup will appear showing the shortcode to use it
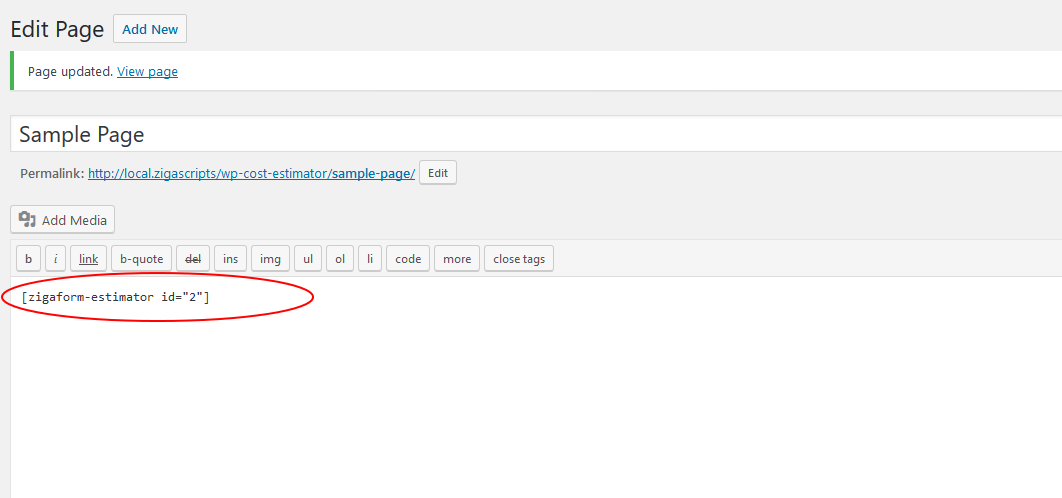
- or you can use the preview option or you can go to list form in order to get the shortcode in order to paste it to your page. In this case, I will paste the shortcode into page in order to visualize
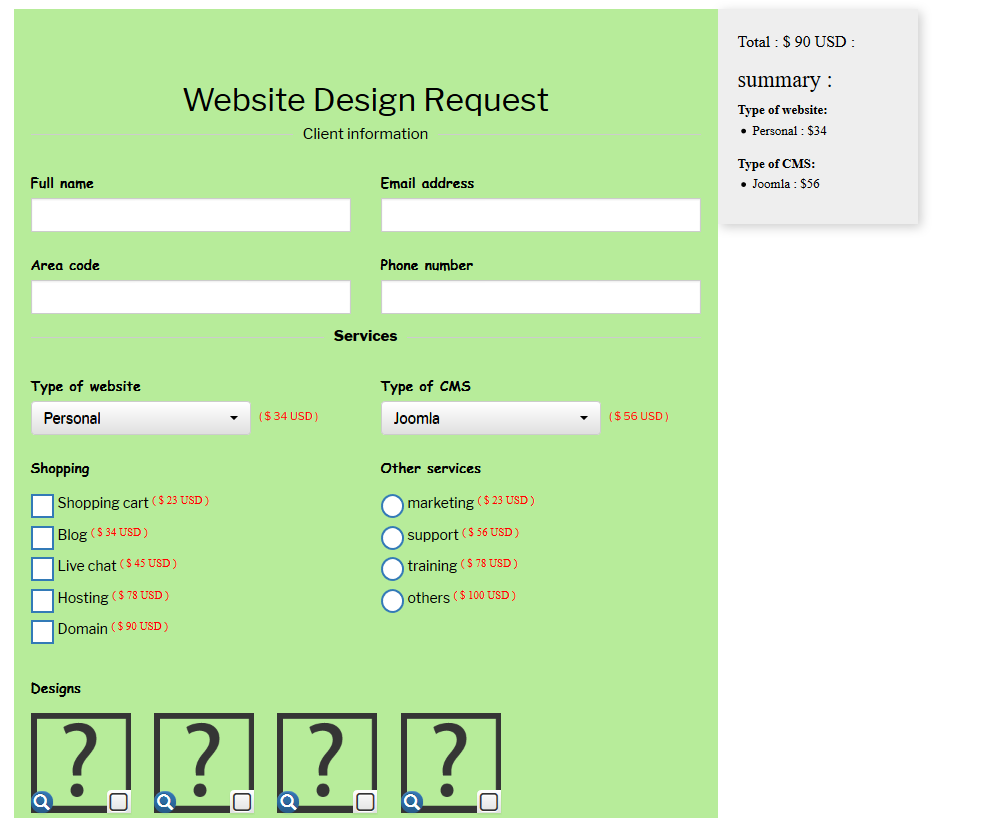
- Then you will see the form on frontend working fine
here a video explaining how to create a basic estimation form (reference).